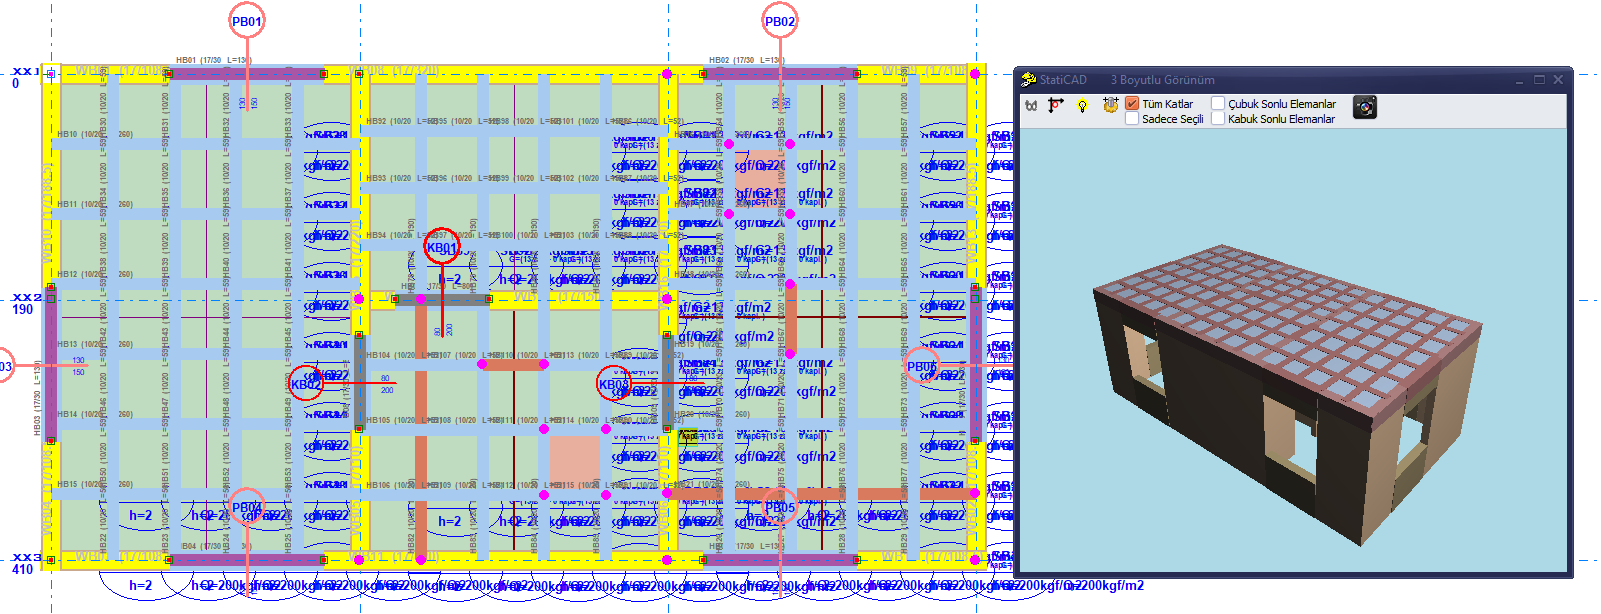
Create Rib/Grid on Selected Slab
In a structure whose floor plan is as shown in the image below, let us create a timber slab system where slabs 1 and 4 have the main beam direction in the X direction, and slabs 2 and 3 have the main beam direction in the Y direction.
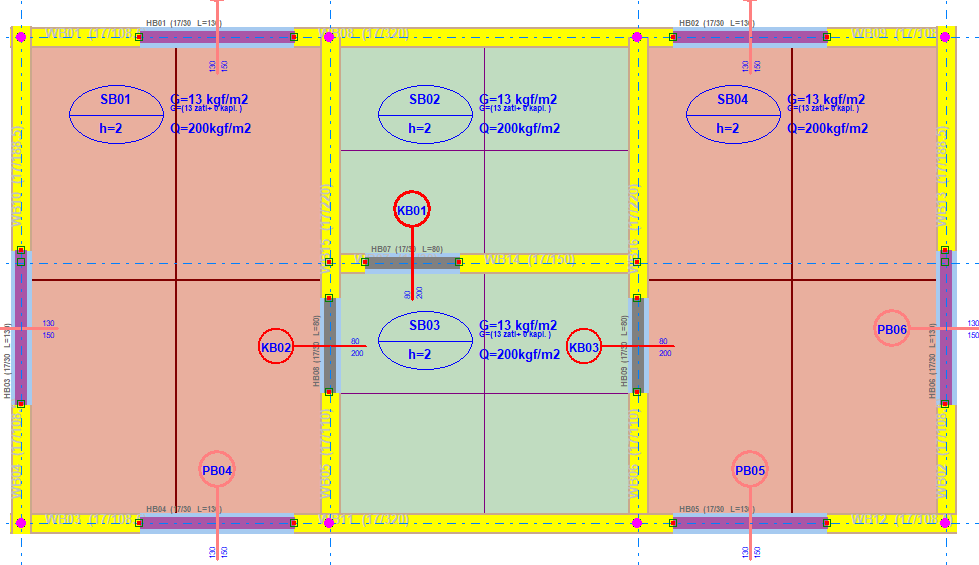
2- Let us select slabs 1 and 3, whose main beam direction will be the X direction. Right-click on the slab and click the "Create rib/grid on selected slab" option.

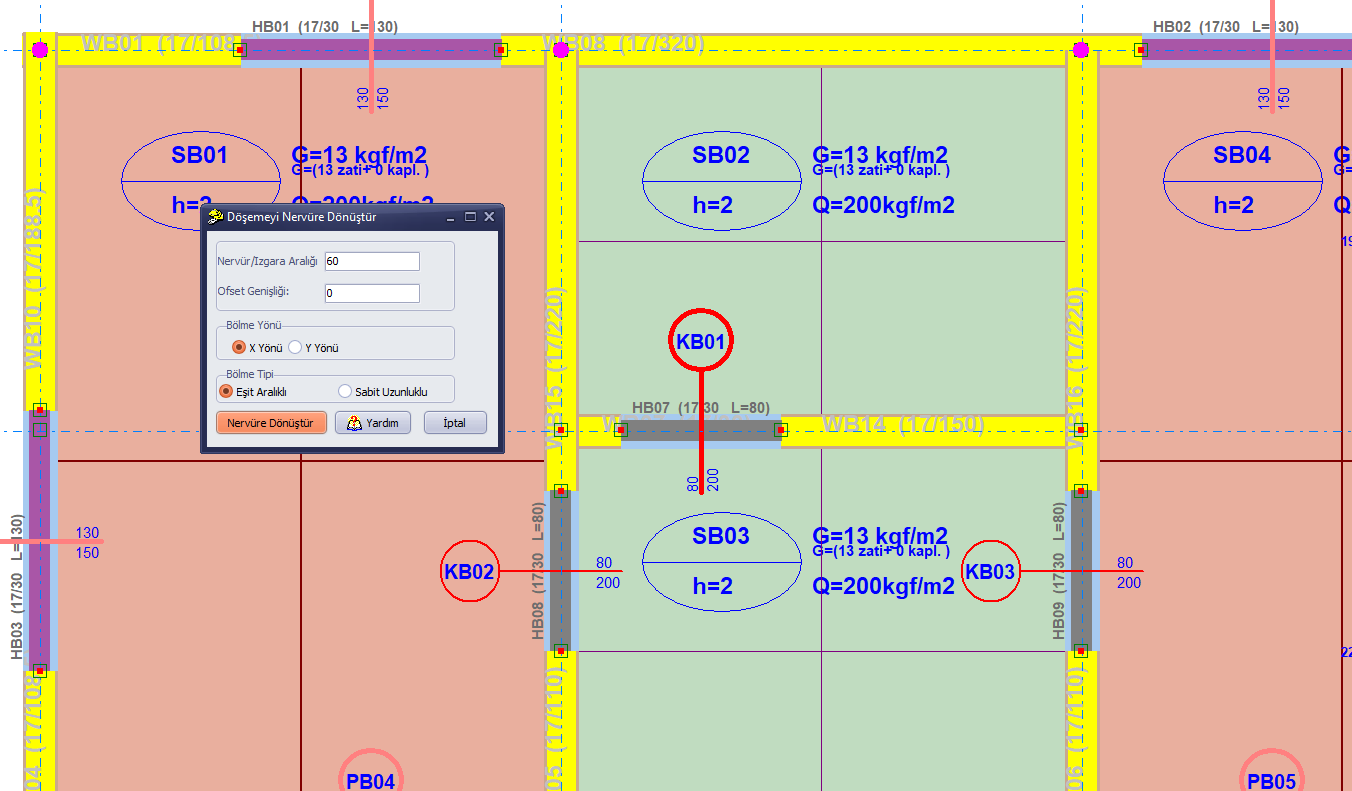
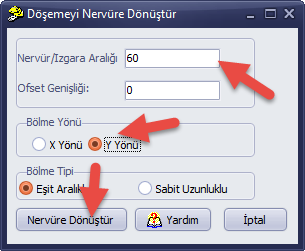
3- In the form that appears, enter the rib/grid spacing as 60 cm. Offset distance is 0. With the division direction set to X, click the "Convert to Rib" button.
4- The form that appears requests the properties of the beams to be created. The beam width and height are entered in the fields. The element type is selected as timber beam. Timber material is assigned using the "Select Material" button. For detailed information on material assignment, see Defining Timber, Reinforced Concrete, Concrete, Steel, Masonry, and Other Materials in StatiCAD V6.
5- When the OK buttons are clicked, the timber beams are created in the X direction. If the subdivision is not as desired, it can be undone with the undo button or edited directly.
6- To create the intermediate band beams in the Y direction, select the slabs to be subdivided.
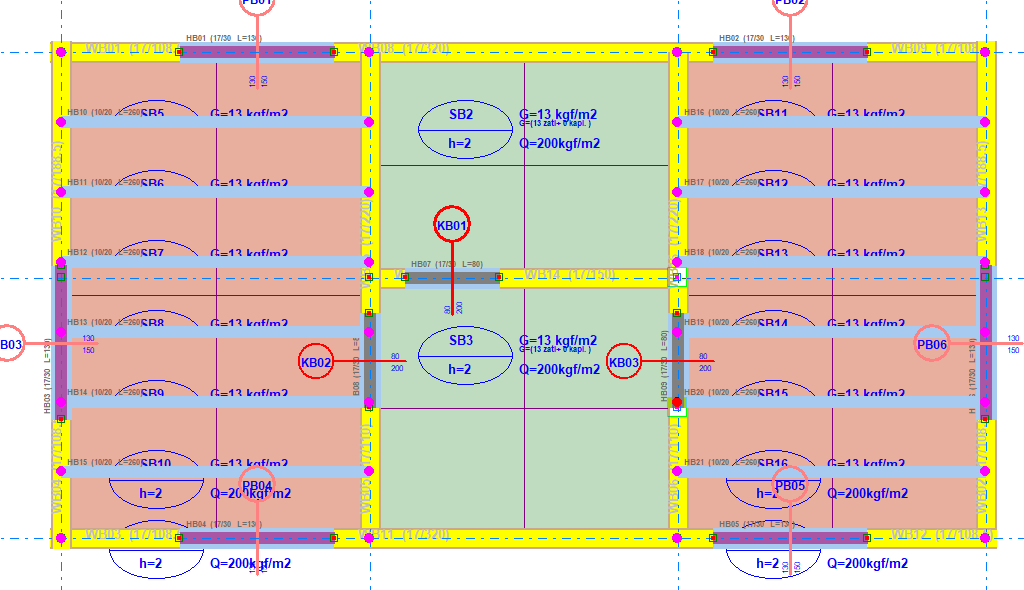
7- As done in step 2, right-click on the slab and select the "Create rib/grid on selected slab" option.
8- In the window that appears, this time select the Y direction. If necessary, change the rib/grid spacing. Click the "Convert to Rib" option.
9- Assign the beam properties as in step 4 and click the OK button.
10- If the subdivision is not as desired, it can be undone with the undo button or edited directly.

11- Similar steps are repeated for the slabs to which the main beam direction will be applied as the Y direction.


12- The created slab grid can be examined in plan view and in 3D view.